Painted Cardboard Initial Ornaments – Happy Hooligans

These Painted Cardboard Initial Ornaments are easy for kids of all ages to make using just cardboard and paint. Add a few extras if you like, or just get creative with your paint technique to make a unique, personalized homemade Christmas ornament for the Christmas tree!
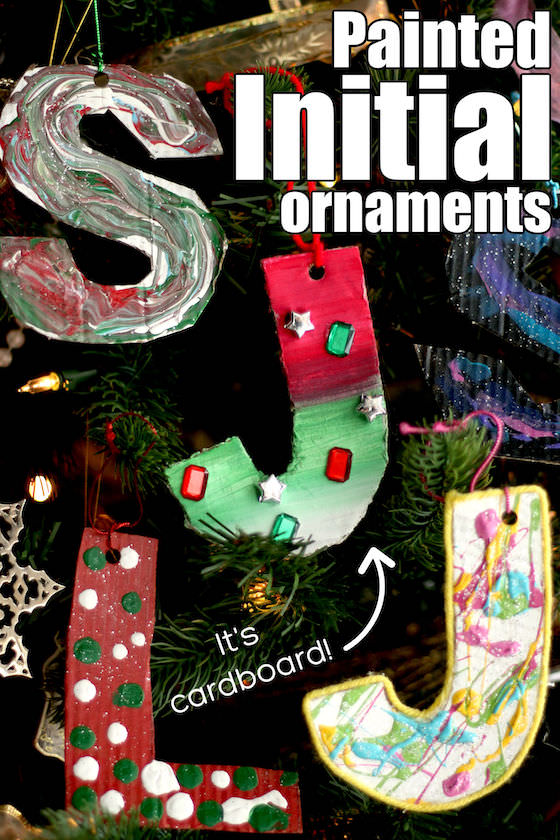
Did you see the yarn-wrapped initial ornaments we made the other day? Well, today’s craft is just as easy. All you need is cardboard and paint. Of course, If you want to, you can add some extras, but if you want to keep the activity simple, you can just get creative with your paint technique.
You may also like our: Easy Initial Ornaments for Toddlers and Preschoolers and our Styrofoam Initial Ornaments for Toddlers and Preschoolers and our Cardboard and Button Initials Ornaments.
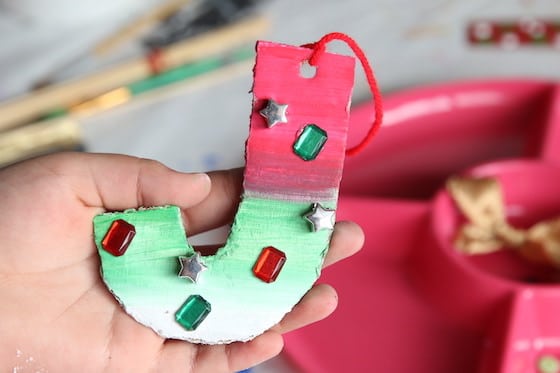
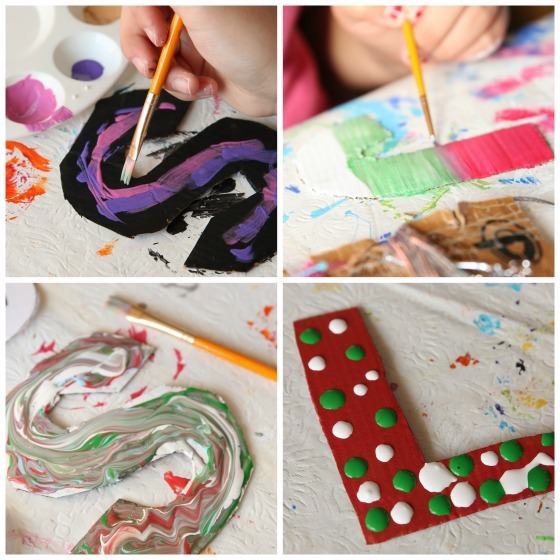
Each of the hooligans chose a different technique for painting their cardboard initials. For the letter J below, an ombre/blending technique was used.
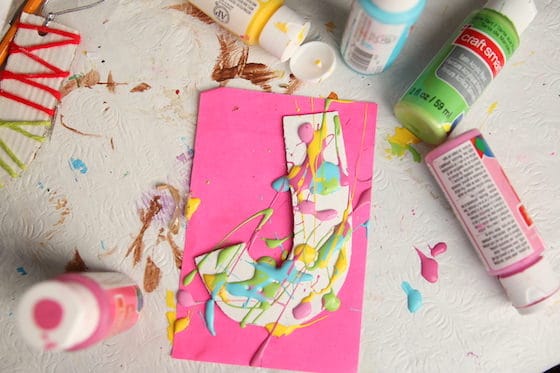
For this next letter J, several paint colours were drizzled over the letter.
Others chose to swirl their paint or to dot it on, and some brushed a mix of glue and glitter overtop to give their initials a sparkly effect.
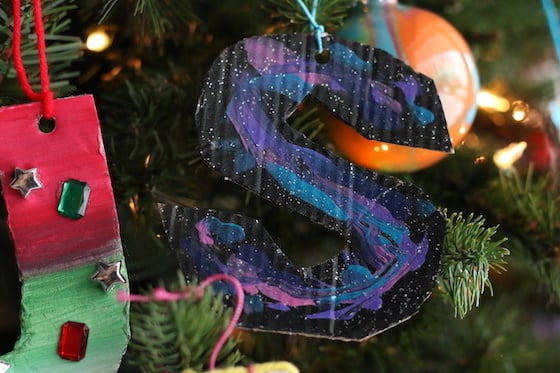
I love the “galaxy” effect on the “S” ornament.
To make your ornaments, you’ll need:
Supplies:
- cardboard
- pencil/scissors
- paint
- paintbrushes
- Optional extras: yarn, glitter, gitter glue & craft jewels
- hole punch & thread for hanging
Instructions:
Time needed: 40 minutes
Painted Cardboard Initial Ornaments – How-To
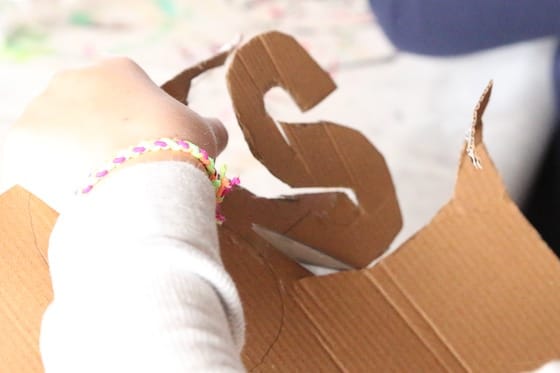
- Cut out your cardboard letter
Draw your letter on a piece of cardboard and cut it out. You can find some printable letter templates here if you’d rather not draw yours free-hand.
- Base paint your letter
Paint your letter with a base coat of paint in the colour of your choice.
- Try a unique paint technique
Once your base coat has dried, make your initial ornament unique by experimenting with a creative paint technique.
- Add some extras
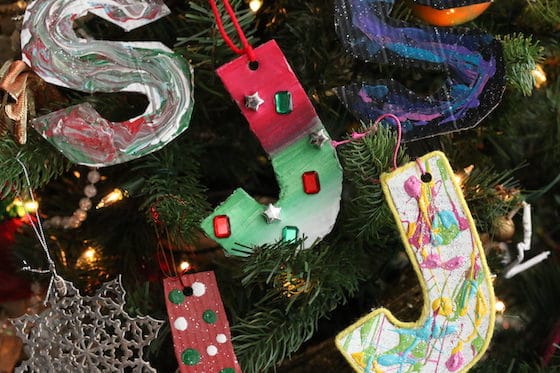
Add some sparkle with craft jewels or brush on a mix of clear glue and glitter, or outline your initial with a low-heat glue gun and some yarn.
- Hang it!
Punch a hole in the top of your initial and loop a bit of metallic thread through for hanging your ornament.

Wasn’t that easy?
I hope your kids enjoy making their painted initial ornaments as much as we did!
More Initial Ornaments for Kids:
More Simple Cardboard Ornaments:
Get the 3-5 Playful Preschool e-Book!
25+ Preschool activities by 25 bloggers, 10 printables, PLUS 50 links to activities not featured in the book.
Click to download your copy now!

Follow the Hooligans on Facebook!

Jackie is a mom, wife, home daycare provider, and the creative spirit behind Happy Hooligans. She specializes in kids’ crafts and activities, easy recipes, and parenting. She began blogging in 2011, and today, Happy Hooligans inspires more than 2 million parents, caregivers and Early Years Professionals all over the globe.


