Mason Jar Lid Ornaments with Sharpies

Grab the Sharpies, a mason jar lid and the tin foil and make these charming and easy Christmas ornaments for your Christmas tree.
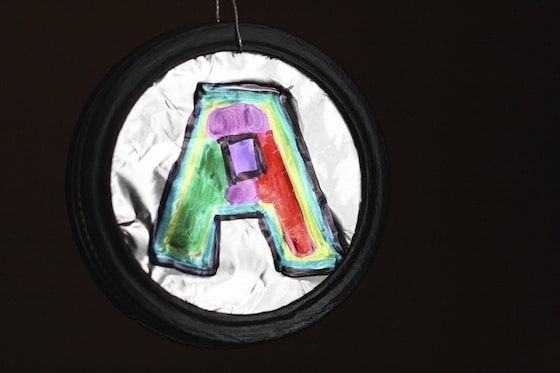
I have the easiest little Christmas decoration to share with you today. We made some cool Mason Jar Lid Ornaments with tin foil and Sharpies. They kind of look like stained glass.
If you’ve been hanging us hooligans for a while, you know I’m crazy about simple Christmas crafts that can be done on a shoe-string budget.
Well, this is definitely one of them. Kids will have fun making these easy Christmas tree ornaments, and you might too. I have to admit, I got a little caught up in the excitement and made several myself.
And if you have some extra lids when you’re finished, check out our mason lid reindeer ornaments and our mason lid snowmen ornaments.

These ornaments are great for all ages to make. My teenager and I made quite a few while we were testing the process. We drew little pictures on ours ornaments, but younger kids, even preschoolers and toddlers, can simply colour whatever they like on the face of the ornament.
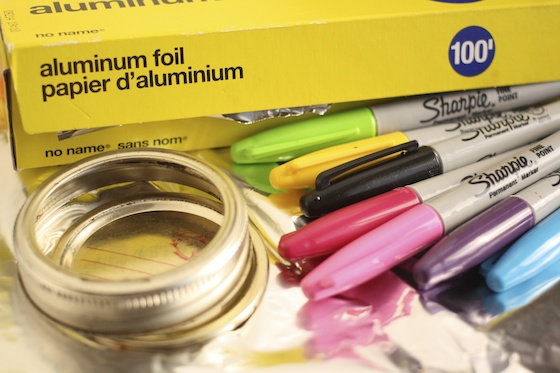
To make our Tinfoil and Mason Jar Lid Ornaments, you’ll need:
Making our Ornaments:
We started by painting the ring of the mason jar lid black, and I dried them quickly with a blast from the hair dryer.
Then, we applied a quick coat of mod-podge (any clear acrylic craft sealer/varnish will do), and I blasted that with the hair dryer too. Why wait for the stuff to dry when you can speed things up with a shot of hot air?
You don’t absolutely need to use the varnish/sealer on the black ring, but it will give the paint a nice sheen, and protect it being scratched off.
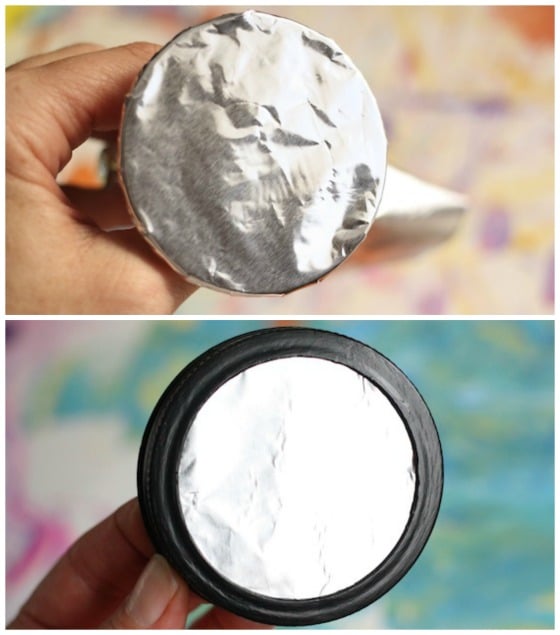
Next, we wrapped the flat insert with aluminum foil. We just cut off any excess and crumpled and pressed any remaining foil against the back of the lid.
Slip a thread of cording (or whatever you’re using as a hanger) through the black ring.
Pop the foil covered insert into the ring.
Now it’s time to decorate.
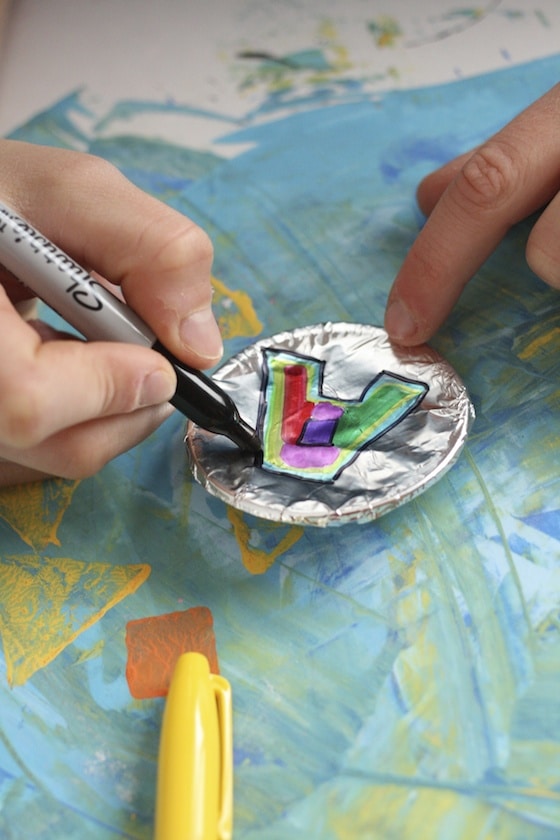
With Sharpies, we drew our pictures on the foil and coloured them in. You can draw your outline in black first, and when you’re finished colouring your ornament, you can go back over that black outline to darken it a bit.
For some reason, our dark pink and light blue Sharpies required 2 coats, but the rest of the colours were dark and vibrant with one coat.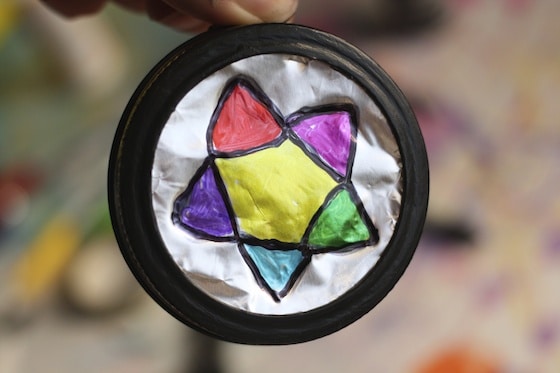
That’s it, that’s all!
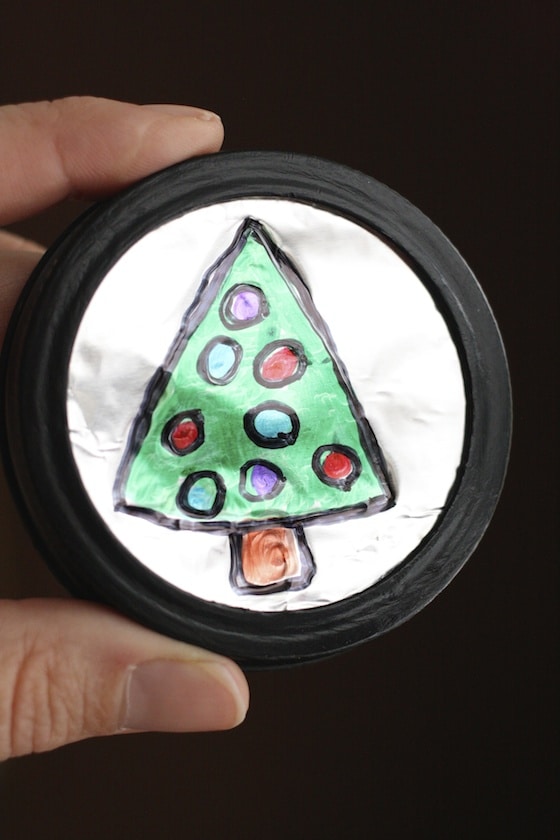
How’s that for cheap and easy? I love how the mason jar lid frames the ornament.
Don’t they look great?
More Sharpie Art Ideas for Kids:
20+ Sharpie Art Projects for Kids
More Mason Jar Lid Ornaments:
And now, if you’re looking for something Christmasy to make with your jars, check out these holiday jar decorations by The Idea Room!
Get 3-5 Playful Preschool e-Book!
25+preschool activities by 25 bloggers, 10 printables, 50 links to activities not featured in the book all for $8.99!
Download your copy today:

Follow the Hooligans on Facebook

Jackie is a mom, wife, home daycare provider, and the creative spirit behind Happy Hooligans. She specializes in kids’ crafts and activities, easy recipes, and parenting. She began blogging in 2011, and today, Happy Hooligans inspires more than 2 million parents, caregivers and Early Years Professionals all over the globe.


