Melting Elsa’s Frozen Hands Activity

This Melting Elsa’s Frozen Hands activity is a blast whether you’re a “Frozen” fan or not! It’s a great science experiment for kids, and easy to prep using a latex glove and odds and ends from the craft room.
We are ALL about Frozen-themed activities these days! I have some huge Elsa and Anna fans here in my daycare. I’m embracing this fleeting (it is fleeting, isn’t it?) passion, and to give ’em more of what they love I came up with this frozen hand activity the other day. It’s definitely going down as one of our all time favourite favourite science activities. My little Frozen fans were super-excited over this one.
Let me show you how we prepared this science activity and all the fun we had with it!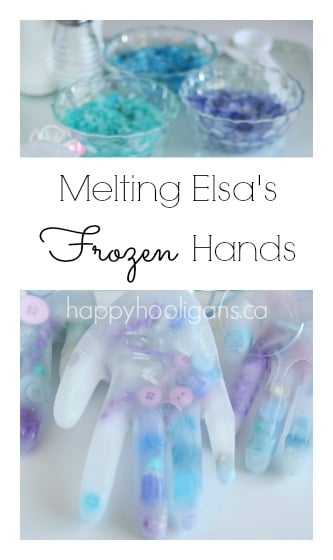 Prep:
Prep:
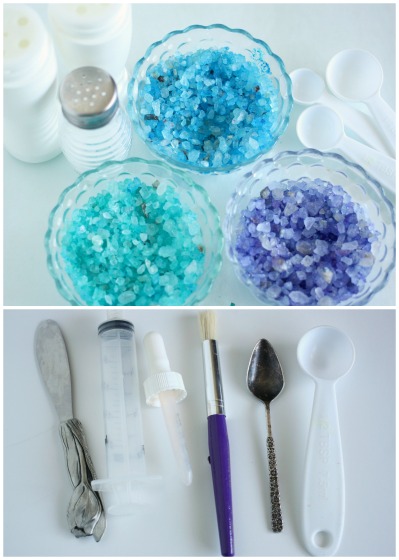
Tools and instruments:
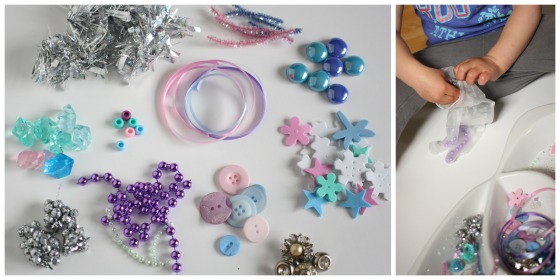
To fill our gloves, we used:
The hooligans first dropped all of their treasures into the latex gloves. This was a great fine-motor activity in itself.
Then I filled the gloves with water, and secured each one tightly with a twist tie. For fun I added some curling ribbon to the top, and I placed all of the hands on a baking sheet and set it in the freezer over-night.
*You want to space the fingers out before they go into the freezer so the gloves are easy to remove once frozen.
This is what the gloves looked like before they went into the freezer:
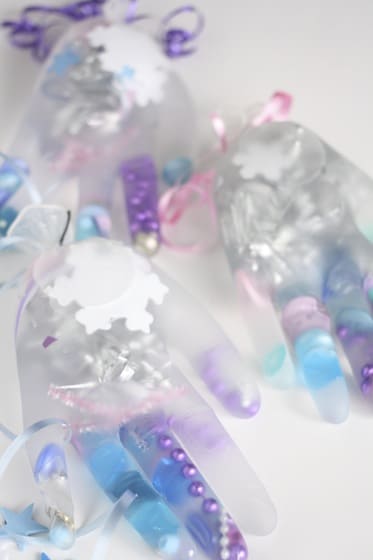
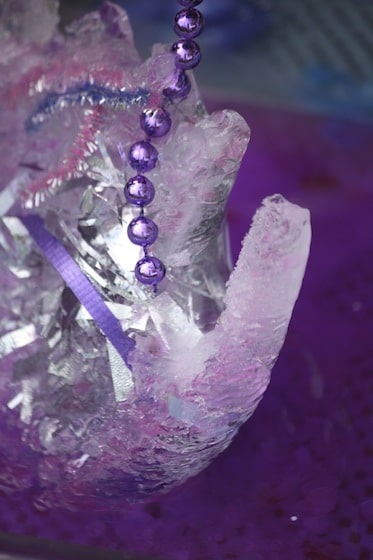
And here they are after. The girls inspected them closely, and were fascinated by how cold and frosty they were.

Removing the latex gloves from the frozen hands:
To remove the gloves from the hands, run them under a light flow of very cold tap water. Using scissors to cut away the latex, slowly slide the gloves off the hands. It’s important to work gently so you don’t snap the fingers. Use the cold water to help melt away any stubborn bits. *For the record I broke one thumb – all in all, not bad. I’ve done worse in the past.
Let’s melt those hands!
I set the activity up on our old thrift shop coffee table in the backyard. It works wonderfully as an outdoor activity table.
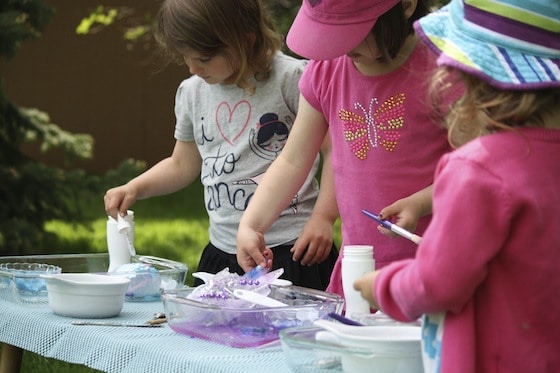
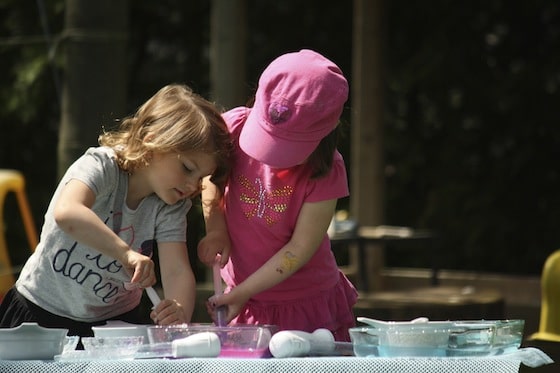
Each hooligan received her frozen hand in a shallow baking dish, along with a set of tools for excavating, a bowl of driveway salt coloured with food colouring, and a shaker of plain table salt.
I placed a bowl of water on the table, and they got to work!
They had a blast scooping, pouring, shaking and squirting the salt and water to start the melting process.
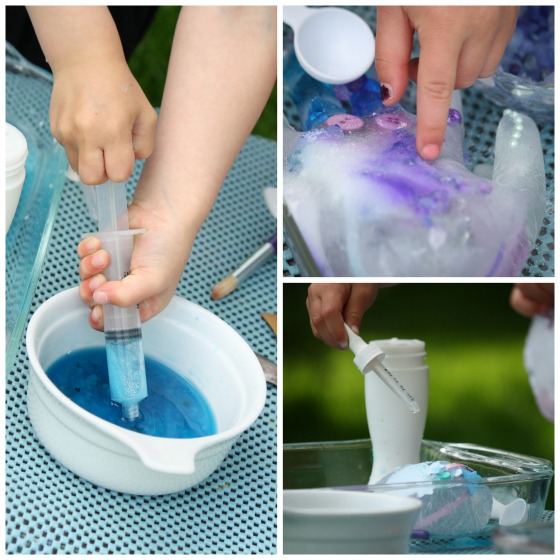
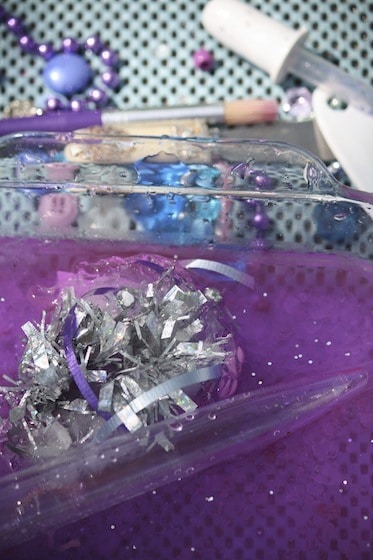
Quite quickly, they were able to start digging away at the frozen treasures.


The turkey basters were very popular. A baster is a great tool for helping with co-ordination and muscle control. There’s quite a knack, as you know, to drawing water up into a baster, but even the youngest ones catch on quite quickly.
The syringes are always very popular as well. And they’re not just used to melt the ice! Much fun was had trying to jet a perfect stream of water out across the yard or up above their heads.
I have visions of another water-play activity following close on the heels of this one, and it will definitely involve these syringes!
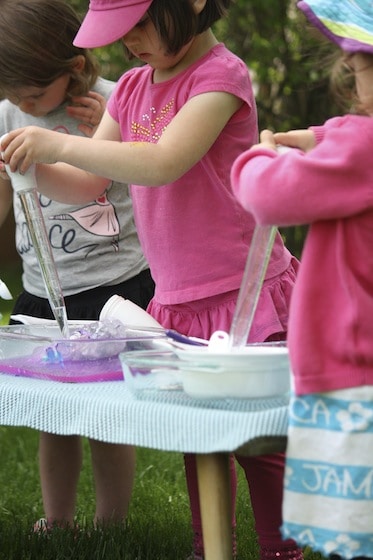
The girls worked away for about an hour using all of the equipment I’d set out for them.
They dug and chopped and picked and poured until they’d freed almost every last treasure from their icy hands.
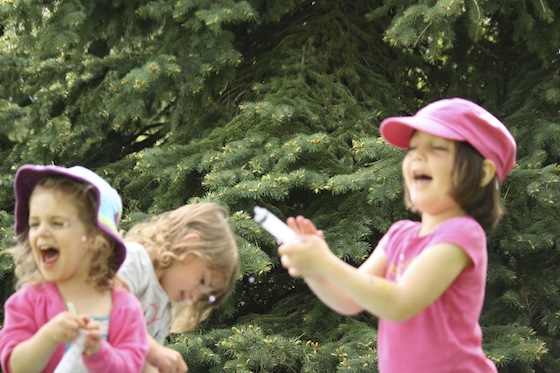
Going, going…
Gone!
What a wonderful way to spend a warm, spring morning!
Get the 3-5 Playful Preschool e-Book!
25+preschool activities by 25 bloggers, 10 printables, 50 links to activities not featured in the book all for $8.99!
Download your copy today:

Follow the Hooligans on Facebook

Jackie is a mom, wife, home daycare provider, and the creative spirit behind Happy Hooligans. She specializes in kids’ crafts and activities, easy recipes, and parenting. She began blogging in 2011, and today, Happy Hooligans inspires more than 2 million parents, caregivers and Early Years Professionals all over the globe.


