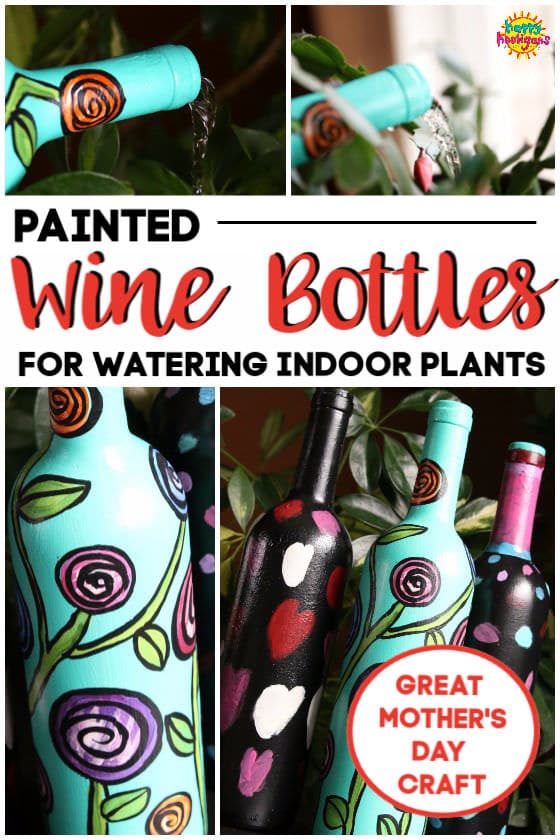
Painted Wine Bottles for Watering Indoor Plants


These Painted Wine Bottles are handy for watering indoor plants, and in between waterings, you can display them as a piece of decorative art. These colourful and unique bottles are easy to make, and kids and adults alike will enjoy the process. They make a great homemade gift for Mother’s Day, Christmas or a birthday.
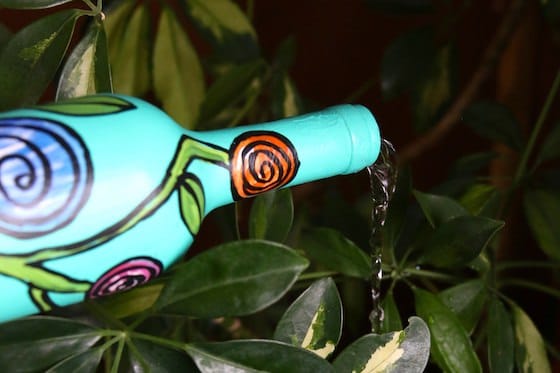
I love using wine bottles to water my indoor plants. The long neck of the bottle gets right into the middle of the plant, so you don’t get the spills and drips that you would using a pitcher or whatever makeshift watering can you use when you water indoors.
Display it as a reminder to water your plants
Because I’m bad at remembering to water my plants, I always leave an empty wine bottle on my kitchen windowsill. It serves as a great reminder to water my plants, but the empty bottle on the windowsill isn’t exactly attractive.
A couple of weeks ago, I had a thought: why don’t I paint the wine bottle so it looks more like a decorative art piece rather than a plain old wine bottle?
So, I did just that. I grabbed my wine bottle – it was a green glass bottle – and my acrylic paints and WOW! I was thrilled with the way it turned out.
Great Mother’s Day gift for kids to make
Right away, I knew that this would be a great craft for my daycare kids to make for Mother’s Day.
P.S. You might want to check out our wine bottle candle holders and our clothespin wine charms too!
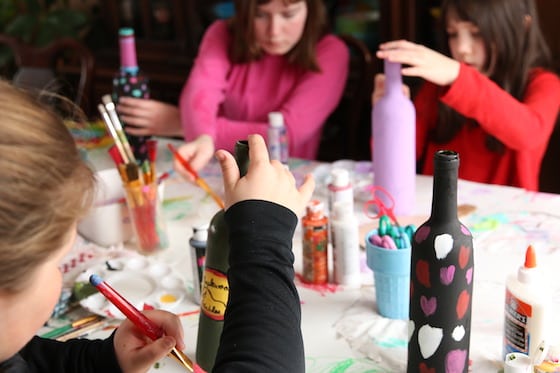
I raided my recycling bin and salvaged a few more wine bottles for the hooligans to paint.
They LOVED the project, and now they have a unique and beautiful gift to give to their Moms for Mother’s Day.
I’m actually going to make one for my own mom because she watered my plants for me while we were away last week, and she thought my little wine bottle “watering can” was brilliant. She said she uses her kettle for watering, and she carries a tea towel with her as she waters to wipe up the spills as she goes. She thought the wine bottle worked wonderfully, and she loved how pretty it looked.
Make one for each floor of your home
I’m also going to paint a couple more for myself, so I can keep one upstairs for the plants in our bedrooms, and one in the rec. room for our downstairs plants.
Let me show you how we made them!
Painted Wine Bottles for Indoor Watering

Supplies:
Note: We drew our designs free-hand, but you there are some great doodle books like this one if you need inspiration.
Instructions:
Remove the wine label
Start by removing the label from the wine bottle. I soak my bottles in hot water for a half hour or so and then scrub them with a scouring pad to remove the label.
Tip for removing stubborn labels: Add a scoop of Oxiclean or Washing Soda to a sink of hot water and let your bottles soak for a half hour or so. The labels will slip right off. If you don’t have either of those products, there are some other proven methods here.
Rinse the bottle clean, inside and out, and set it upside down on a tea-towel to drain and dry.
To prime or not to prime
You can prime your bottle with Gesso if you like, but it’s not necessary. We primed some of ours, and didn’t prime others, and it really didn’t make a difference.
Painting your bottle
Choose a background colour for your bottle, and give the bottle two coats of this colour. Let the first coat dry completely before applying the second coat.
Tip: apply your second coat lightly and swiftly to prevent lifting off the first layer of paint.
Let your second coat dry well before proceeding.
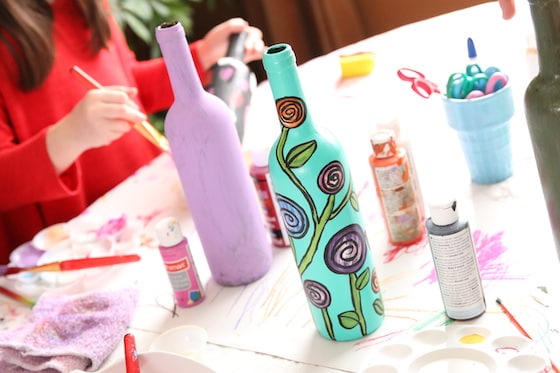
Now it’s time to decorate your bottle
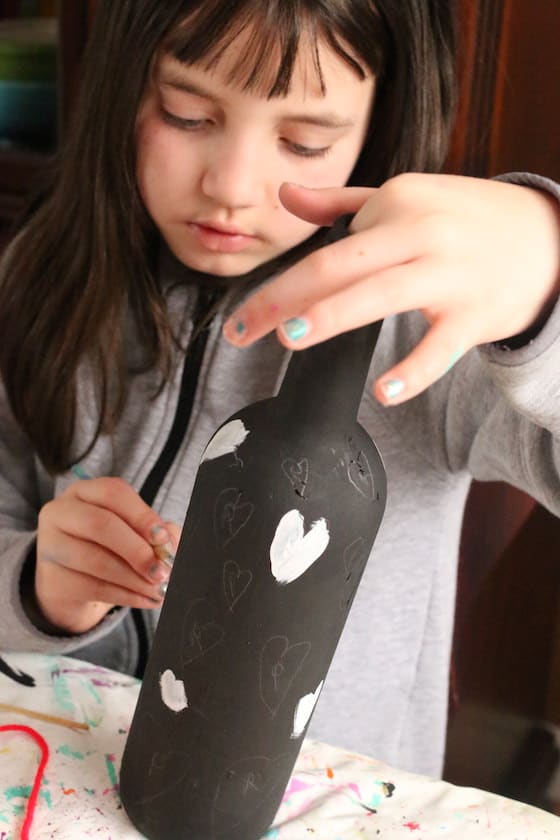
You can pencil a drawing on first, or just work free-hand with your paints. Get creative with your colours and patterns, using a fine liner brush for outlines and details.
Allow the paint to dry well before applying the varnish.
Varnish your bottle
Varnish is a must for this project for a couple of reasons. For starters, it provides a protective coating that will prevent the paint from scratching off. Secondly, it will make your paint colours really pop. It’s really exciting to see the vibrant colours of your design spring to life as you brush your varnish over them.

You can use spray varnish, but I prefer the liquid varnish when I’m working indoors and with kids. As for the finish, I prefer a satin varnish. I find matte a bit too flat, and glossy varnish tends to create too much of a glare for my liking.
Brush the entire bottle with varnish, covering every little bit of paint.
Varnishing Tip: You may need to insert a finger into the bottle to turn the bottle to turn it as you go around with your paint brush. Just don’t stick your finger in too far. You want to be able to pull your finger back out without having to touch the wet bottle with your other hand. Transfer your bottle to a baking rack to dry.
Allow the varnish to dry completely before using your wine bottle as a watering can. We left ours to dry overnight.
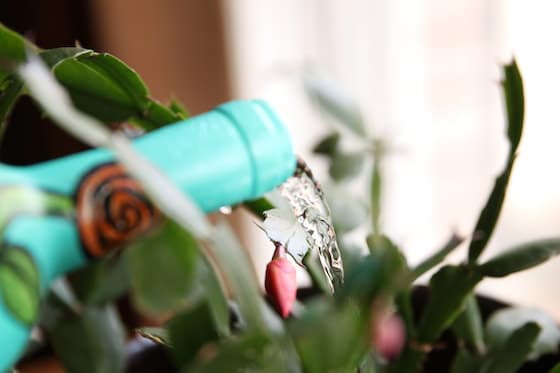
And now… you have a gorgeous painted wine bottle watering can to display on your plant table or a window sill in between waterings.
If you’ll excuse me, I’m off to raid the recycling bin for more bottles!
More Wine Bottle Crafts:
Get the 3-5 Playful Preschool e-Book!
25+preschool activities by 25 bloggers, 10 printables, 50 links to activities not featured in the book.
Click here to download your copy today

Follow the Hooligans on Facebook!

Jackie is a mom, wife, home daycare provider, and the creative spirit behind Happy Hooligans. She specializes in kids’ crafts and activities, easy recipes, and parenting. She began blogging in 2011, and today, Happy Hooligans inspires more than 2 million parents, caregivers and Early Years Professionals all over the globe.


