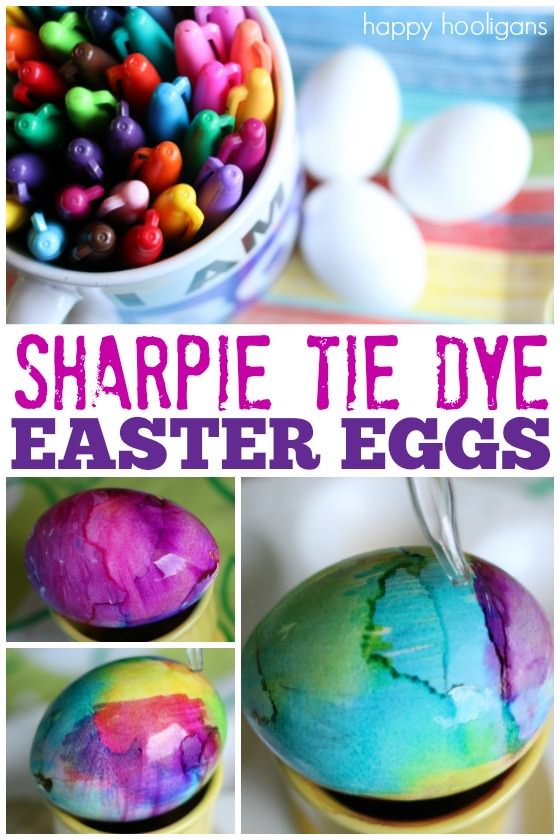
Tie-Dye Easter Eggs with Sharpies and Rubbing Alcohol

In this post, you’ll learn how to tie-dye Easter eggs using Sharpies and Rubbing Alcohol. The process is fun and fascinating for all ages, and a creative alternative to dyeing eggs the traditional way.
Recently, we were talking about all the really unique ways we’ve dyed eggs over the years and wondering what new and creative process we could try with our eggs this Easter.
One of the kids suggested that we try one of our favourite Sharpie Marker art techniques to see if we could make tie-dyed eggs.
I thought it sounded like a brilliant idea. Sharpies and alcohol work well on a variety of surfaces like fabric, plastic and ceramic. Why wouldn’t it work on eggs?
Older kids will love: Marbled Easter Eggs with Oil, Vinegar and Food Colouring
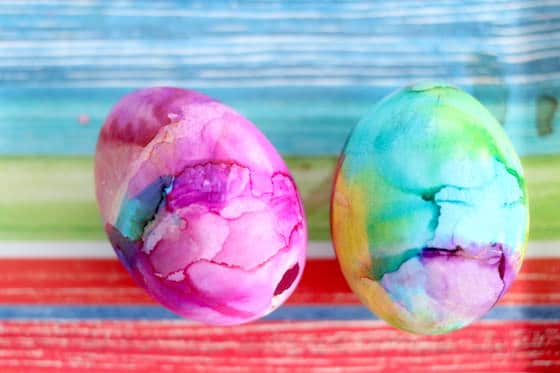
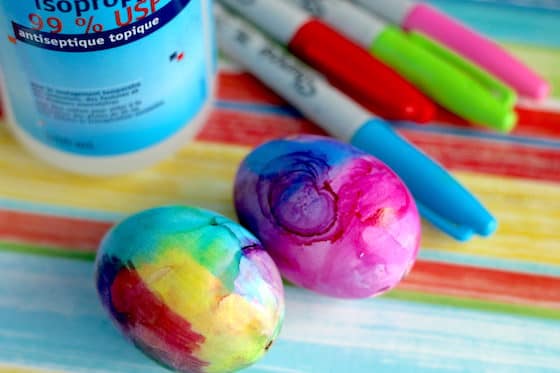
We decided to give it a try, and our eggs turned out beautifully, and they did indeed have the same tie dyed look that our bookmarks and Christmas ornaments had when we made them.
I’m pretty excited to show you the results!
For your convenience, this post contains Amazon affiliate links. (As an Amazon Associate I earn from qualifying purchases).
How to To Tie-Dye Easter Eggs with Sharpies and Rubbing Alcohol:
Note: these eggs are not for eating.
These tie-dye Easter eggs have been doused in rubbing alcohol, so they are not safe to consume. Please do not do this process with hard-boiled eggs meant for eating.
Blow out your eggs
Ok! First of all, you’ll need to blow out your eggs. There’s an easy “how-to” here at All Free Crafts in case you’ve never blown out eggs before. For the record, I skip the vinegar rinse at the end. I just run my eggs under the tap to make sure the egg is empty and clean. Then I shake them out, and set them on a towel to dry.
Colour your eggs
When I say “colour your eggs”, I literally mean we are going to colour on our eggs.
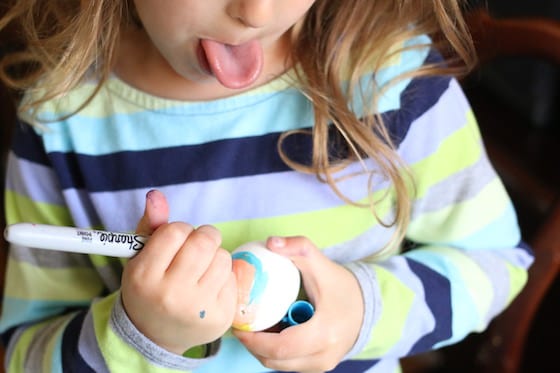
Before you get started, you’ll want to explain to your child how fragile the empty egg shells are and encourage them to handle them gently. This can be tricky for young children who tend to tightly grip whatever they’re holding.
You may want to have several extra blown-out eggs on hand. A couple of ours got accidentally crunched in the process. Not a biggie. We continued with the process anyway, and just put the crunched eggs good-side-up when it came time to display them.
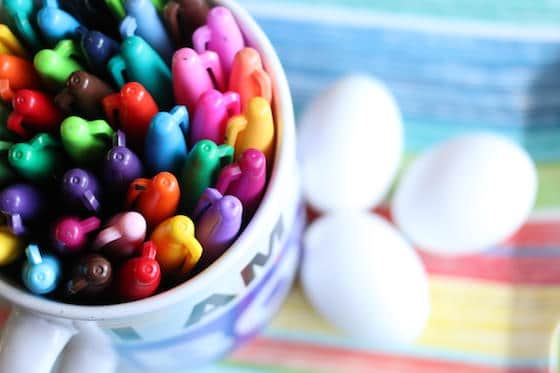
Choose vibrant, bold Sharpies if you want intense results, and soft, muted colours if you’re going for pastel-coloured eggs.
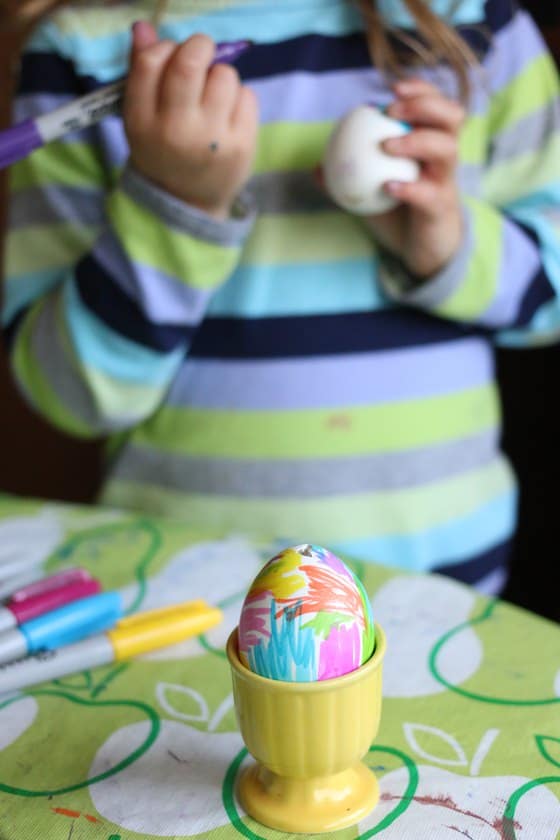
Have your child colour their eggs in a variety of colours. The more colours you use, the more beautiful your eggs will be.
The colouring doesn’t have to be perfect. Older kids may want to cover their egg in patterns or blocks of colour, and younger children will scribble. That’s why I love this activity so much. Anything goes! The results will be gorgeous no matter what.
When your child has finished colouring the eggs, it’s time to magically transform them into tie-dyed beauties.
Balance your coloured egg on something that will prevent it from rolling around. We used a small egg cup, but you could place your eggs on a baking rack or in large slotted spoon.
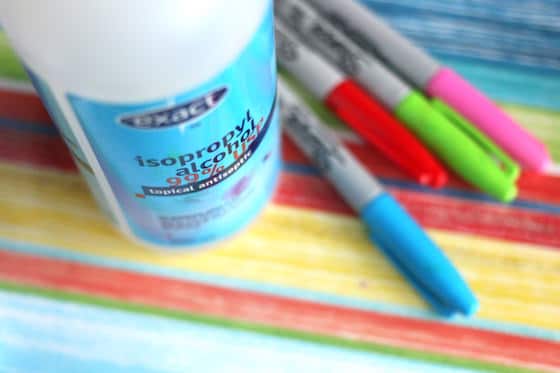
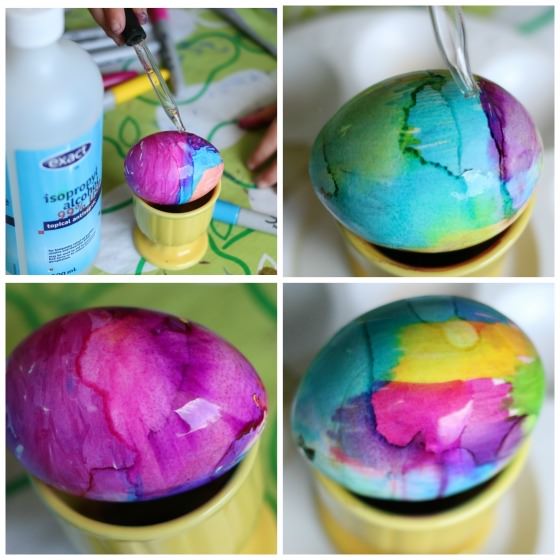
Add the alcohol
Pour some of the rubbing alcohol into a small dish (another egg cup comes in handy for this).
Now, using a dropper, squeeze or tap a tiny amount of rubbing alcohol onto a coloured egg, and watch what happens!
WHOA!
How cool is that?
Isn’t it fascinating to watch the colours blur and blend together? It looks just like tie-dye doesn’t it?
Continue dripping small amounts of alcohol on your egg until all of the colours have blended.
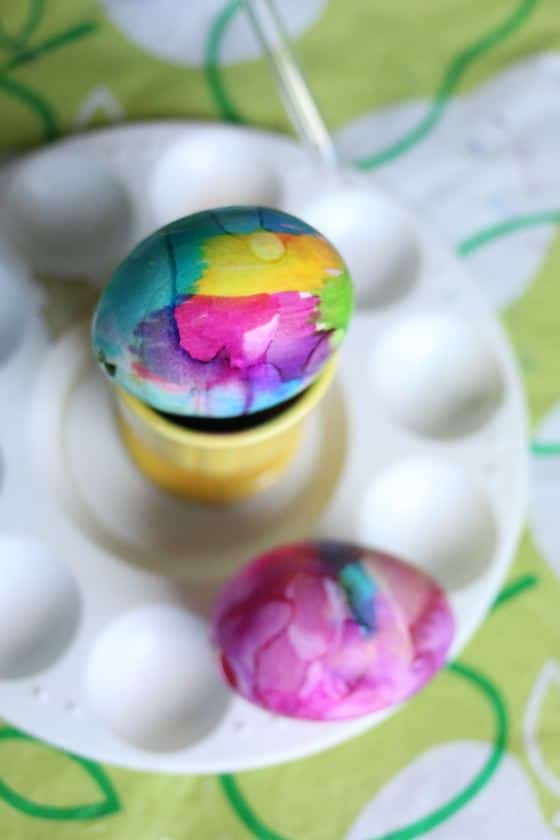
Your eggs won’t take long to dry because the rubbing alcohol evaporates quickly, so you’ll have a whole batch of glorious, gorgeous tie-dyed eggs in no time!
How’s that for a quick, easy, and mess-free way to colour a batch of eggs with your kids?
Now, you can place your tie-dye Easter eggs in a pretty bowl or a clear vase, or scatter them about your holiday dinner table to make a colourful display!
More Sharpie Marker Ideas:
20+ Sharpie Art Projects and Crafts for Kids
More Creative Ways to Dye Easter Eggs
How to Dye Easter Eggs with Food Colouring or Liquid Watercolours
Marbleized Easter Eggs with Oil, Vinegar and Food Colouring
Awesome “Galaxy” Easter Eggs – Dream a Little Bigger
Get the 3-5 Playful Preschool e-Book!
25+preschool activities by 25 bloggers, 10 printables, plus links to 50 additional crafts and activities all for $8.99!
Download your copy today:


Jackie is a mom, wife, home daycare provider, and the creative spirit behind Happy Hooligans. She specializes in kids’ crafts and activities, easy recipes, and parenting. She began blogging in 2011, and today, Happy Hooligans inspires more than 2 million parents, caregivers and Early Years Professionals all over the globe.


