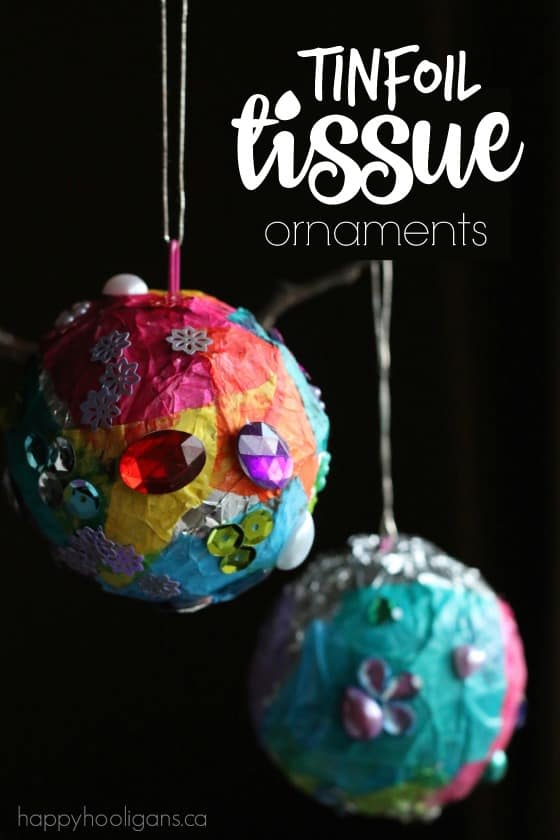
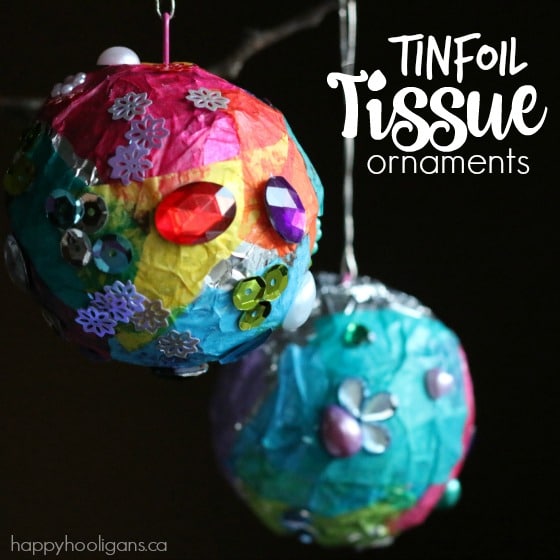
Tin Foil Tissue Paper Ornaments for Kids

We’ve made a number of crafts with tin foil and tissue paper here in my daycare, and this one is my new favourite. These tin foil tissue paper ornaments are easy for kids of all ages to make, and for a simple, inexpensive craft, the results are beautiful.
The inspiration for these ornaments came from these super-easy tissue paper Christmas balls that we made last week.
RELATED: Shimmering Tinfoil Holiday Napkin Rings.
There’s lots of fine-motor action going on here, making it a great craft for preschoolers. Older kids will also enjoy making these as they can create their own patterns and designs on the ornaments using a handful of craft gems.
This is a great craft to keep in mind if you need a last-minute Christmas activity for the kids as the holidays approach.
You may also like our:
To make our tin foil and tissue paper ornaments, you’ll need:
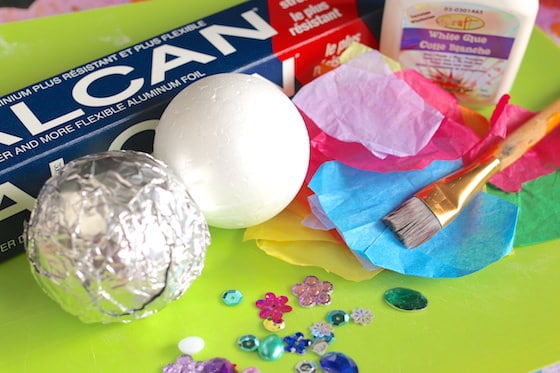
Supplies:
- styrofoam ball
- tissue paper cut into small squares
- glue & water
- paintbrush
- craft stick or skewer (optional)
- craft gems and jewels
- string for hanging
- paperclip
Instructions:
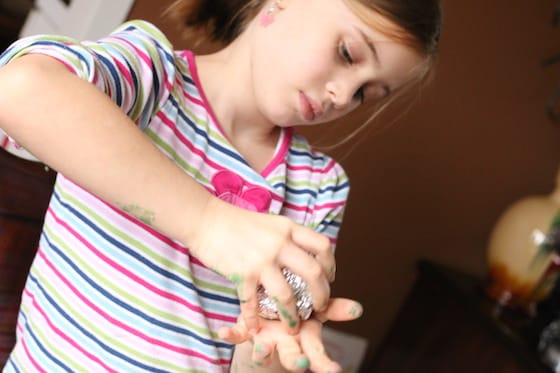
Have your child begin by wrapping the styrofoam ornament with tin foil. Tell them to really squish the tin foil tightly to the styrofoam ball. This will ensure that the ornament is fairly round, and not lopsided.
Next, mix a tablespoon of white glue with a few drops of water. With a paintbrush, spread the glue and water mixture over the ball.
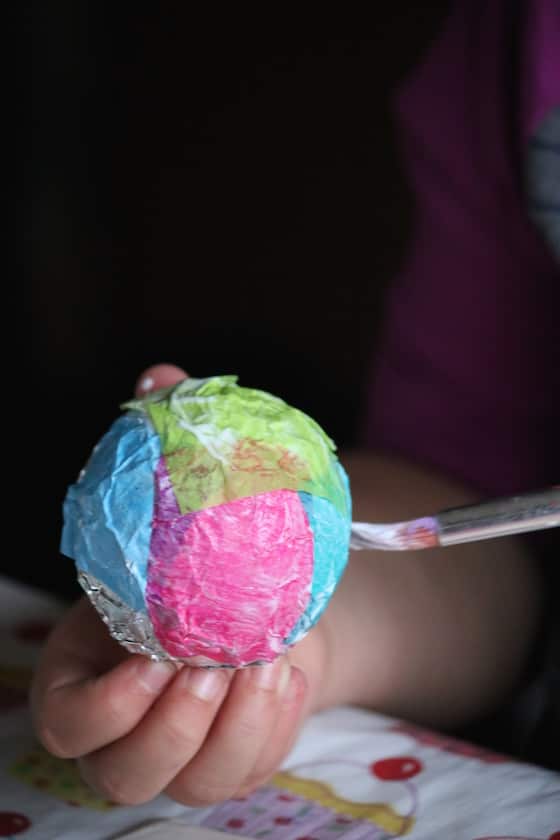
Then you’ll pick a small piece of your coloured tissue paper, and press it to the ball.
Use the paintbrush to smooth the tissue paper over the tinfoil, like you would if you were doing decoupage. Leave some tin foil peeking through between the pieces of tissue paper.
You’ll get a nice mix of colour and silver foil this way.
When your child has finished gluing the tissue in place, set the ornament on top of a cup or a jar to dry.
When your ornament is dry, it’s time to glam it up with a bit of “bling”!
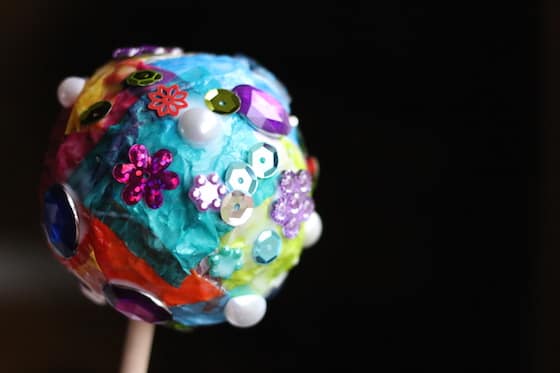
We dug into our supply of crafting jewels, and we glued a variety of coloured stones, gems and sequins all over our ornaments.
Older kids can be methodical with the placement to create some awesome designs and patterns.
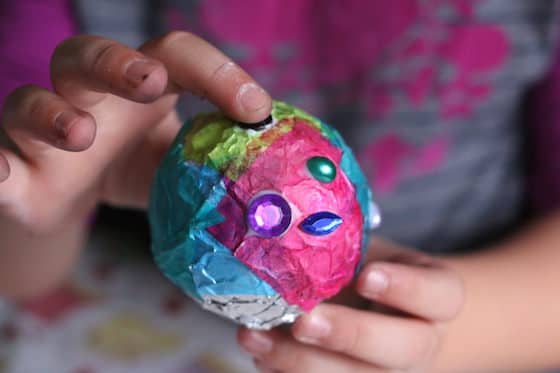
To make it easier to handle the ornament while we were gluing, we we stuck a craft stick into each of our styrofoam balls.
When the ornament is finished, you’ll need to make a little hook to hang it from.
I’ll show you how to do that.
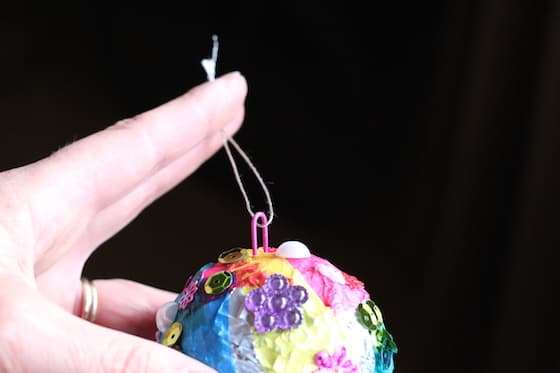
Cut a paperclip in half, and loop a piece of string, ribbon or cording through the open end.
Press the cut ends of the paper clip down into the ornament, trapping the string in place.
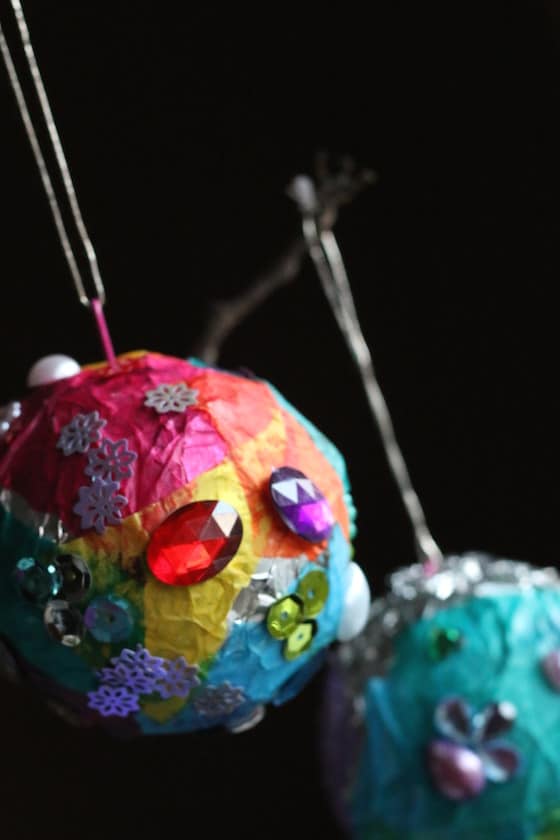
Knot the ends of the string, and your tin foil tissue paper ornament is all set to hang on your Christmas tree!
You might also like:
Tin Foil Christmas Trees
Tin Foil Tissue Hearts
Tin Foil, Jar-Lid Ornaments
Simple Foil Ornaments
Easy Tissue Paper Ornaments
Get the 3-5 Playful Preschool e-Book!
25+preschool activities by 25 bloggers, 10 printables, 50 links to activities not featured in the book all for $8.99!
Download your copy today:

Follow the Hooligans on Facebook

Jackie is a mom, wife, home daycare provider, and the creative spirit behind Happy Hooligans. She specializes in kids’ crafts and activities, easy recipes, and parenting. She began blogging in 2011, and today, Happy Hooligans inspires more than 2 million parents, caregivers and Early Years Professionals all over the globe.


